Follow these steps to configure Outlook 2019 to work with your engineering email.
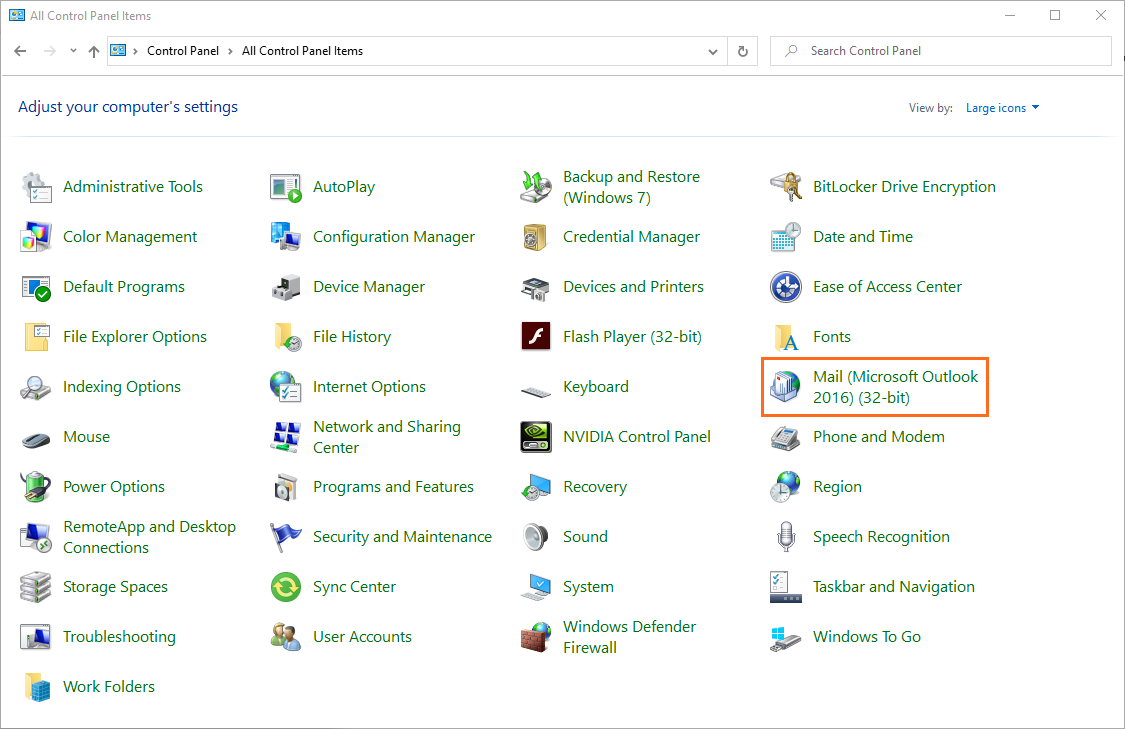
- Open Control Panel from the Windows start menu.
- Set the "View by:" option to either large or small icons, and click "Mail (Microsoft Outlook 2016) (32-bit)".
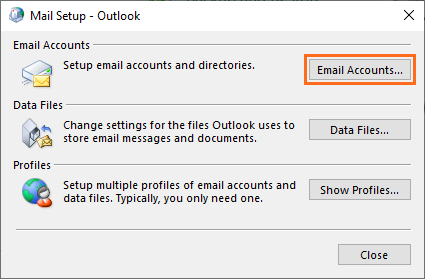
- Click "Email Accounts..." to continue.
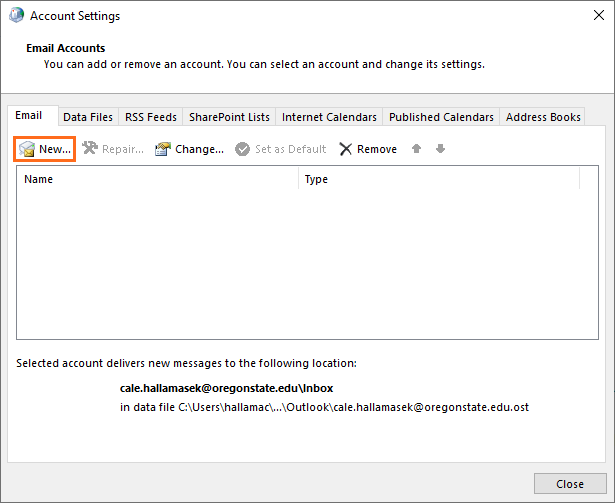
- Click "New..." to begin adding a new account.
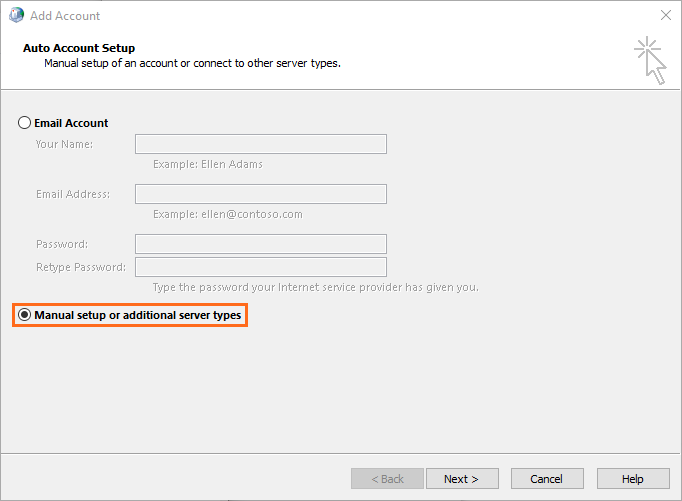
- Select "Manual setup or additional server types" and click "Next >".
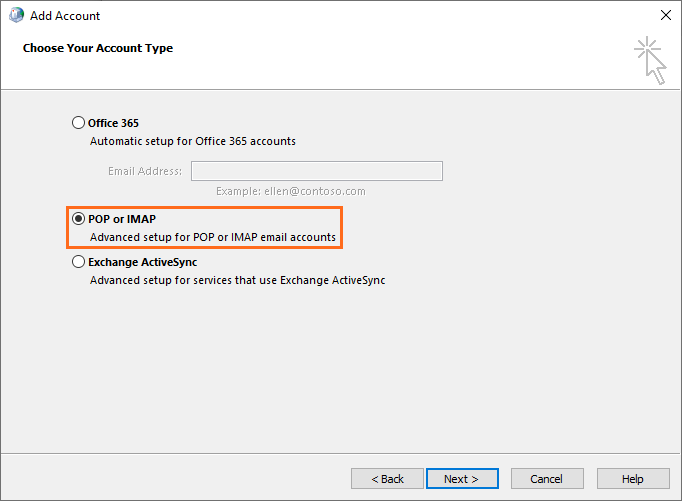
- Select "POP or IMAP" and click "Next >".
- Fill out the following information and click "More Settings..." when you're done. Do NOT click "Next" yet.
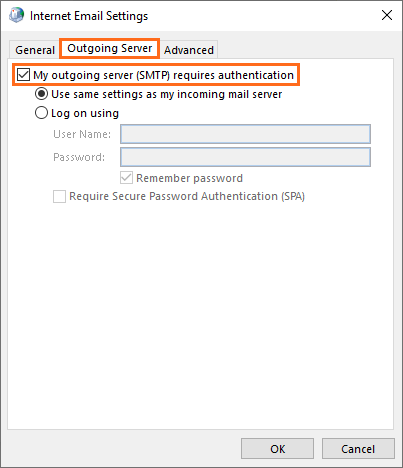
- After clicking "More Settings...", go to the "Outgoing Server" tab and check the "My outgoing server (SMTP) requires authentication" box. Do NOT click "OK" yet, but instead go to the "Advanced" tab.
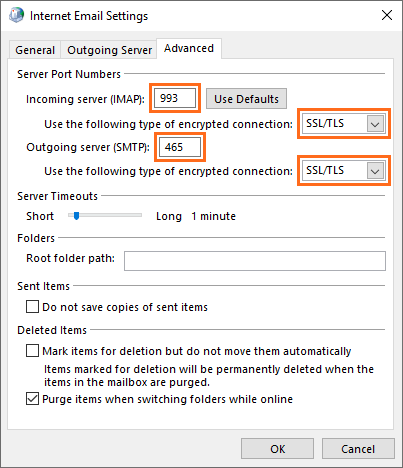
- In the "Advanced" tab, fill out the information according to the below image, and click "OK".
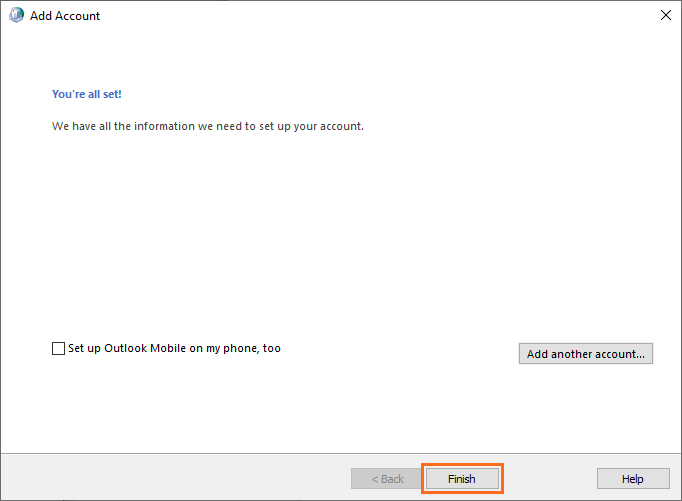
- Click "Next >" to proceed. Outlook will attempt to test your settings by connecting to the server and sending a test message. If all goes well, you can uncheck "Set up Outlook Mobile on my phone, too" and click "Finish" to close the account setup.
- Open Outlook 2019. Your new account should be there; if it is not, just go to the File menu and select it from the Account Information dropdown.